How to make a fantastic vertical vegetable garden using normal plastic bottles
Advertisement
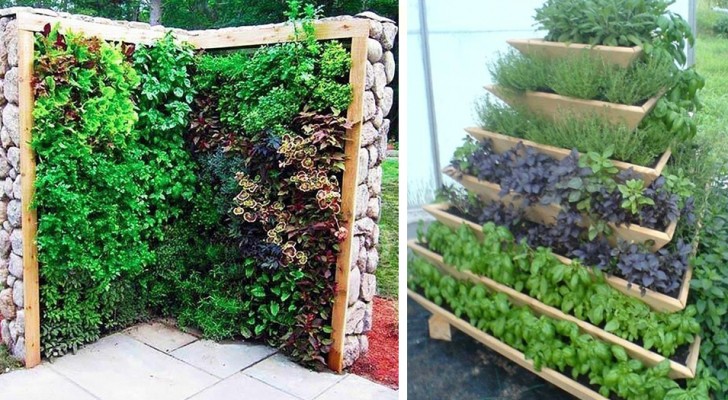
Vertical gardens always give a lot of satisfaction to those who decide to add an extra touch of creativity to their garden (or their apartment).
This is both because vertical gardens are very simple to make and because they allow, even in very small spaces, to grow aromatic herbs or apartment plants in considerable quantities.
To create them using waste materials, then, is a plus that is always good to consider, that's why we really like this project that utilizes plastic bottle towers!
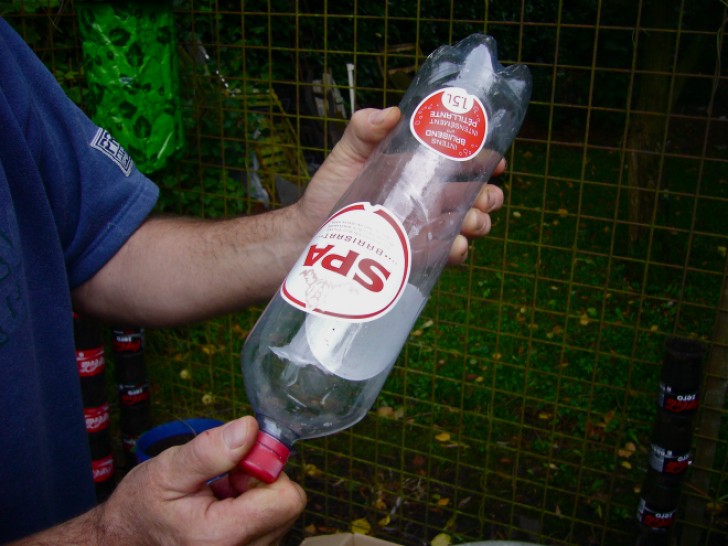
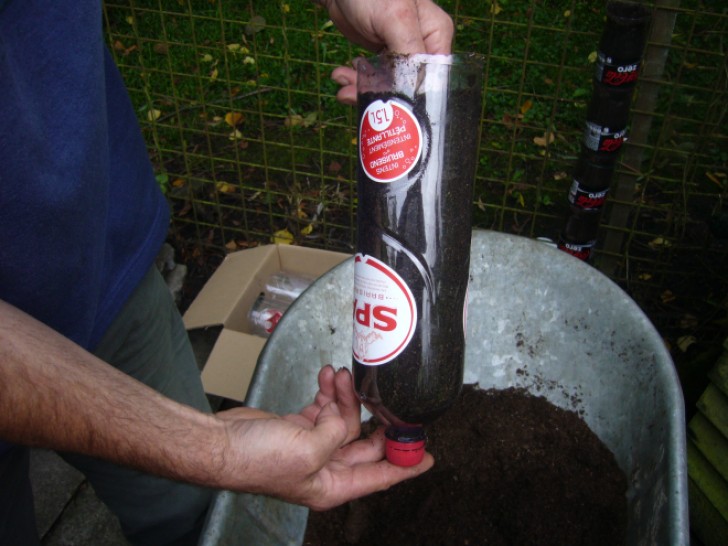
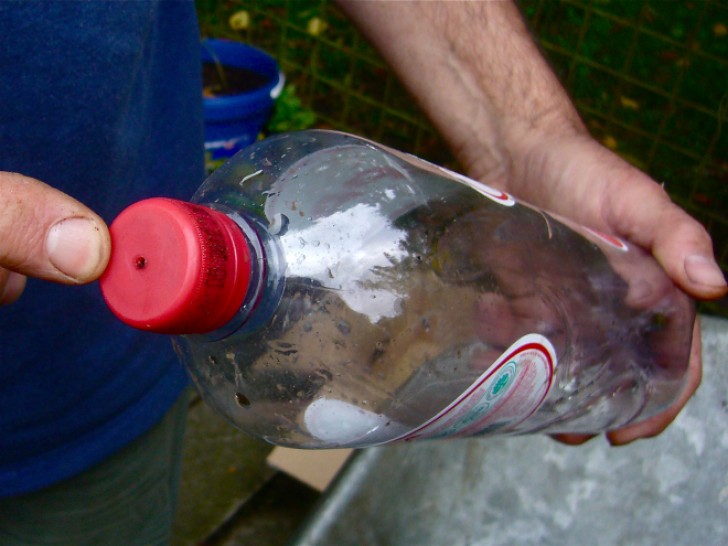
If you have already put aside some empty plastic bottles, you can immediately start realizing this project! Step 1: The bottle that will serve as a base must be fitted with a cap.
Advertisement
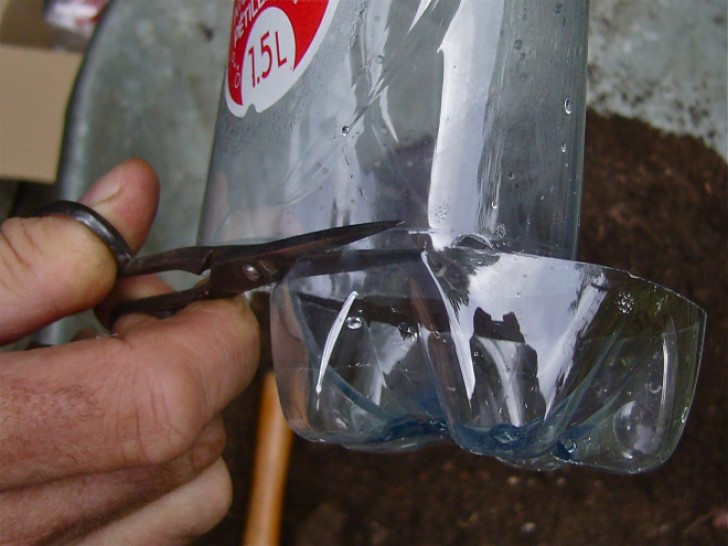
2. Remove the base of the bottle by cutting away only the protuberances.
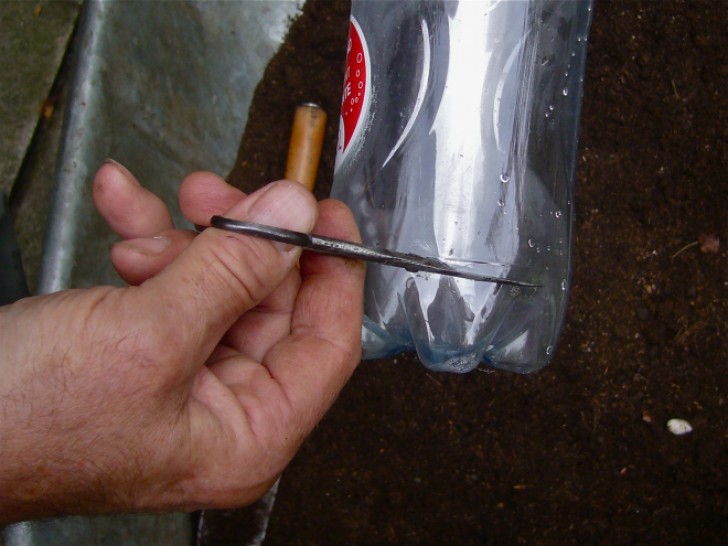
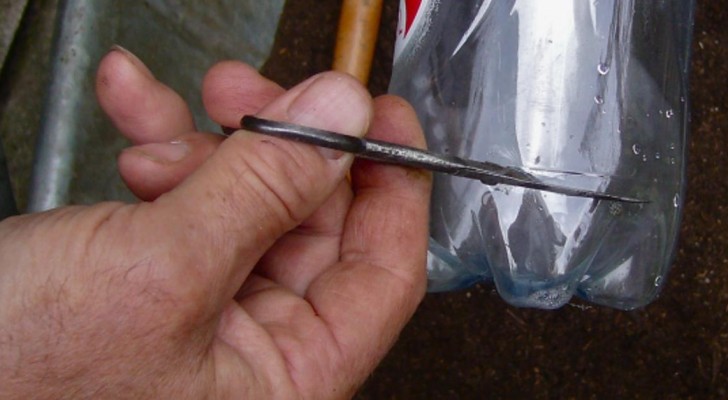
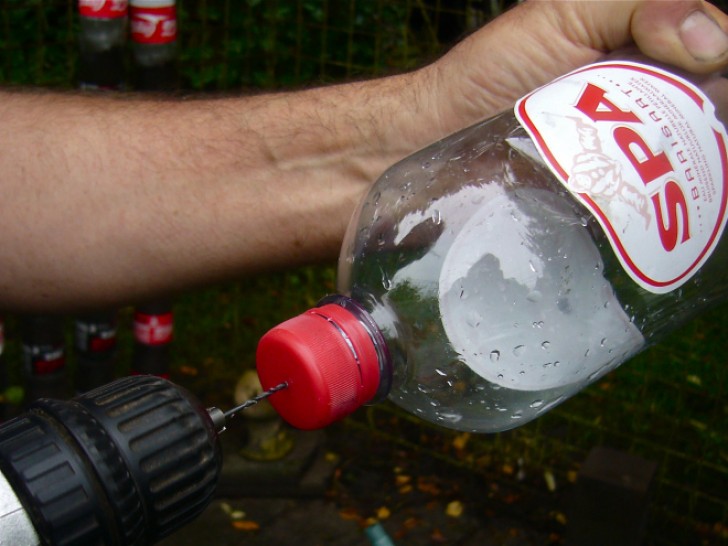
3. Make two holes measuring about 2 - 4 in (5-10 cm) away from the cap (here we see the first hole to be made).
And this is the second hole.
Advertisement
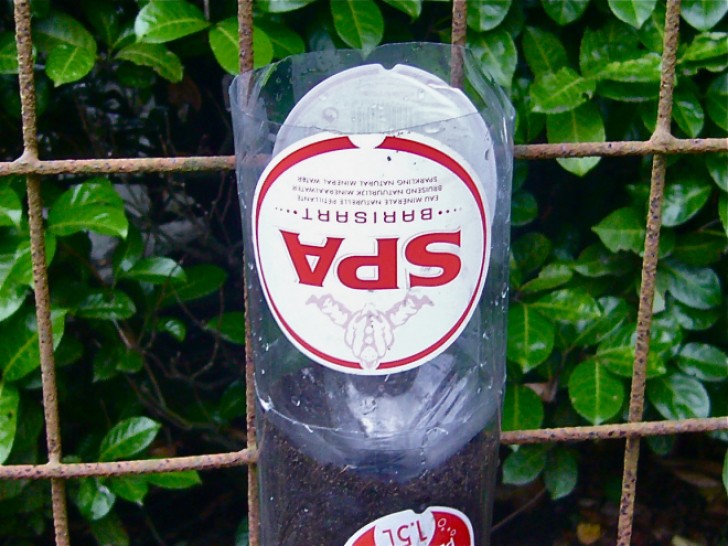
3. Fill the bottle with soil, leaving about 2 in (5 cm) of empty space at the upper end.
4. Set it at the base of the place where you intend to build your tower.
Advertisement
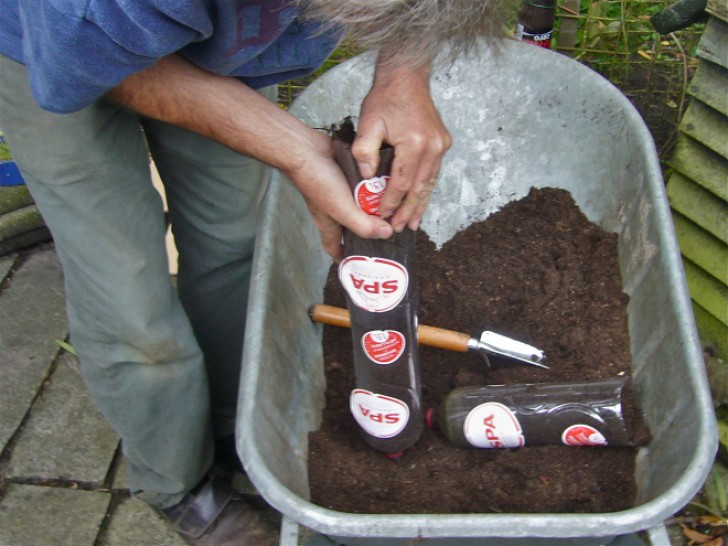
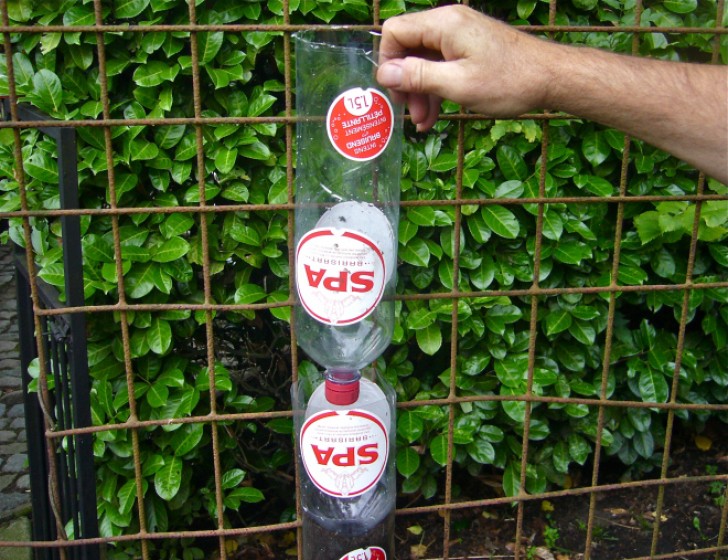
5. For the next 3 or 4 bottles (you can decide according to the desired height for your tower) you will need to remove the cap from each and do not drill any holes.
6. Remove the base by cutting it off as done for the first bottle, fill it with soil and stack the bottles on top of each other.
Advertisement
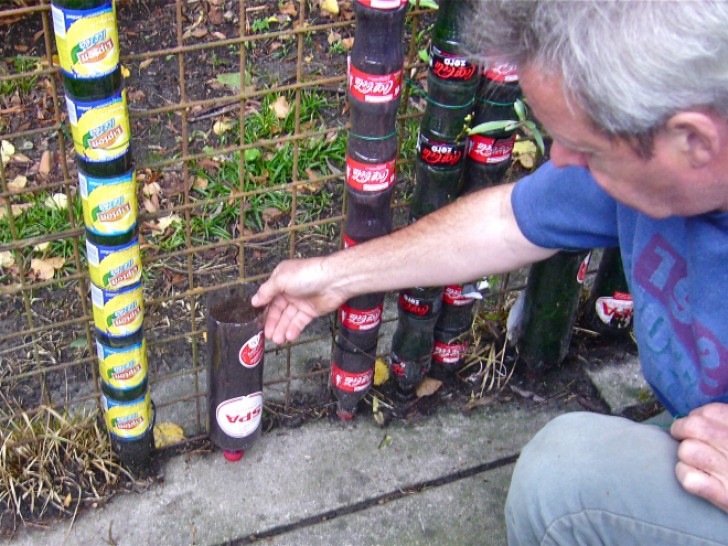
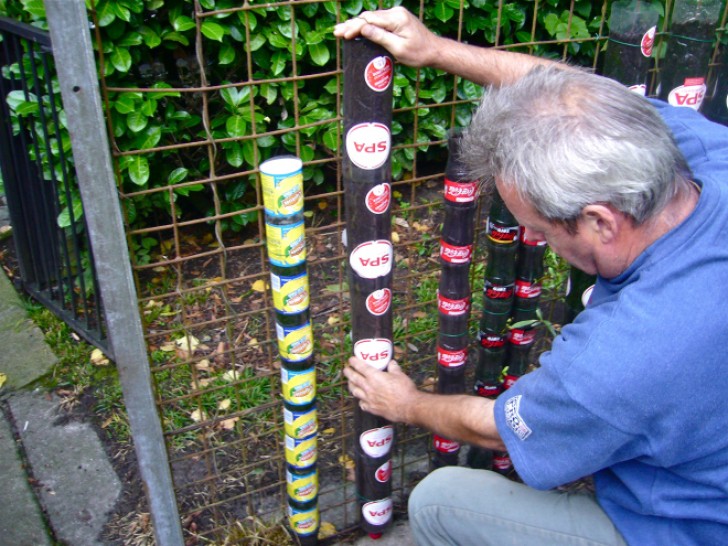
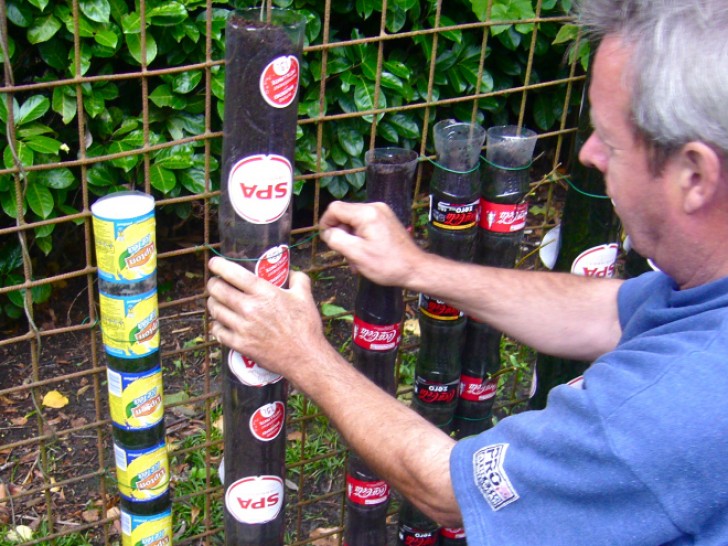
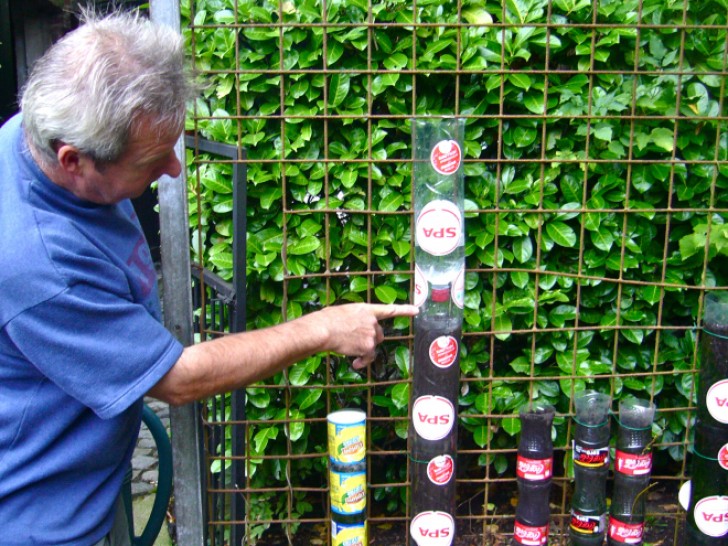
7. Arrange the bottles so you can see the tower take shape, fastening it to the grating with wire.
Advertisement
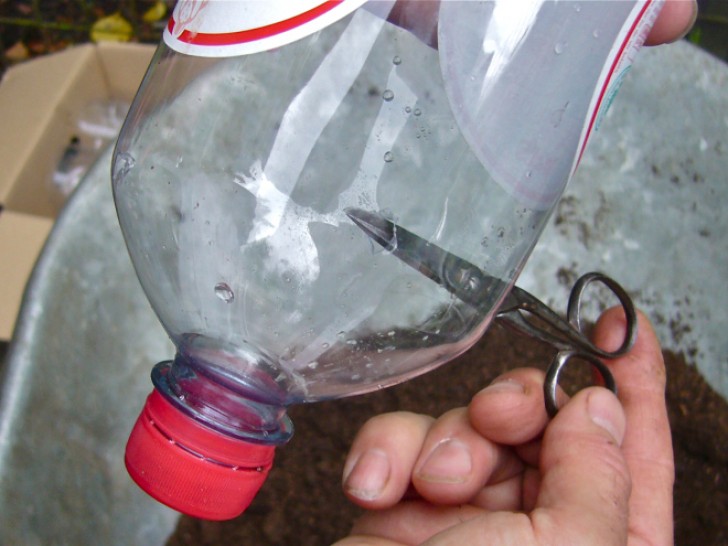
8. Use an empty bottle without the cap as a funnel by inserting it with the neck facing the ground.
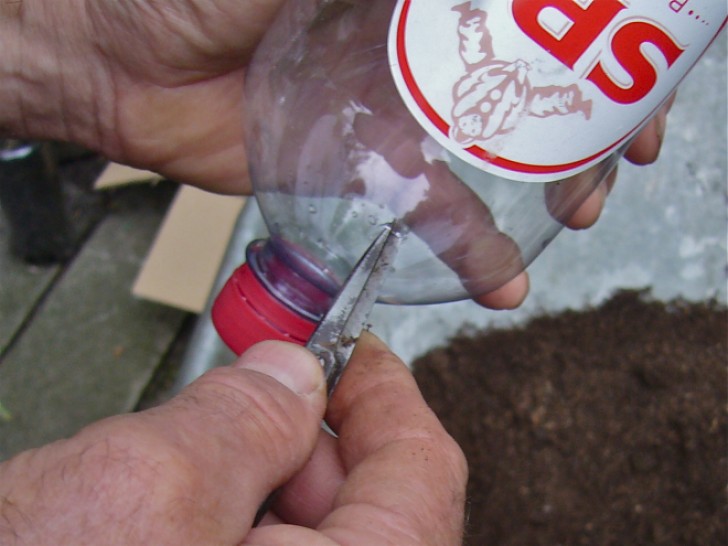
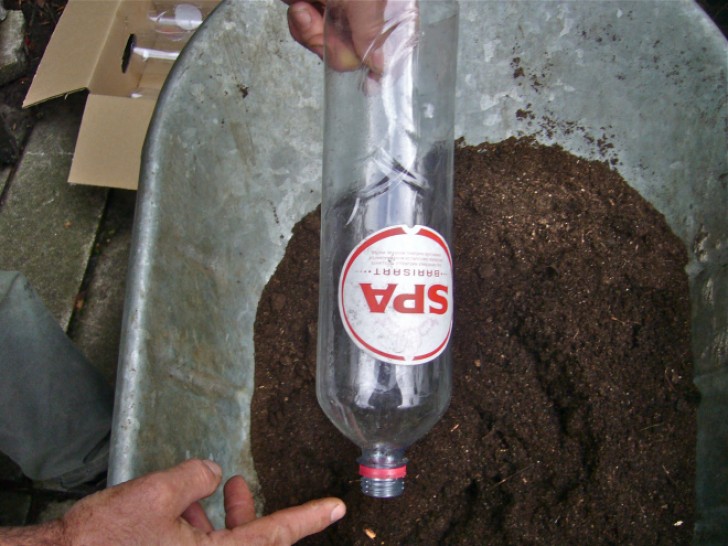
9. The last bottle you will use will be the water tank. Leave the cap and drill a hole in the middle of it.
Advertisement
10. Place it inside the funnel-bottle.
Advertisement
11. And start filling it with water.
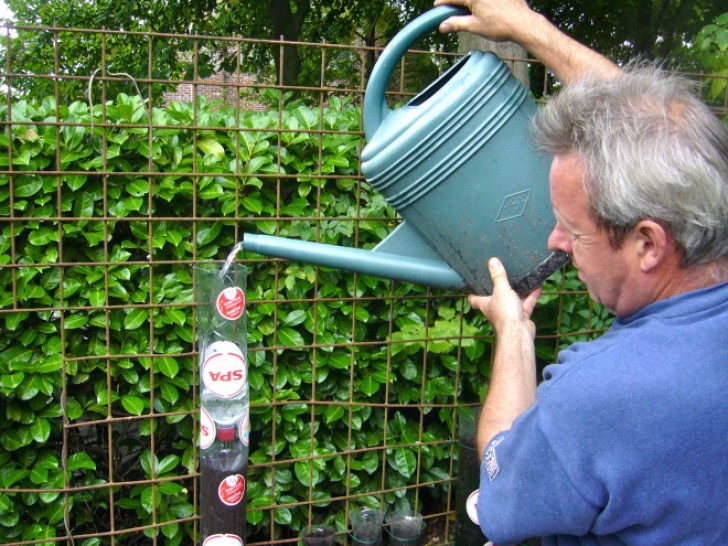
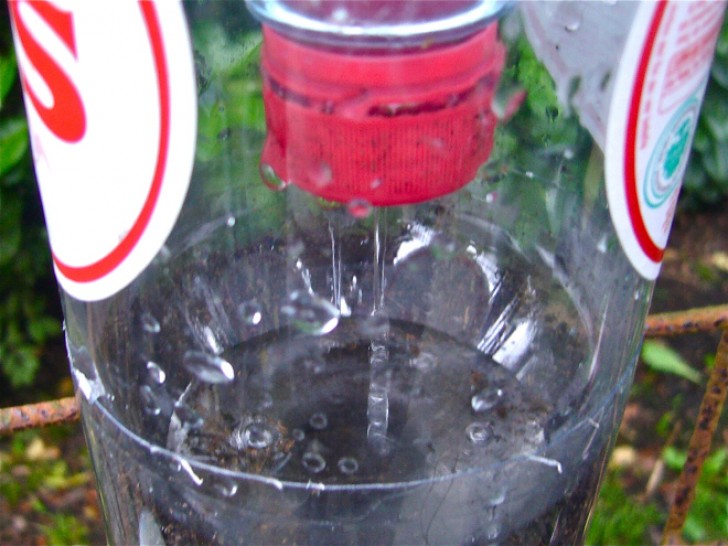
The water will start to go down, irrigating the soil, one bottle after the other and, if it is excessive, the water will come out of the two holes drilled at the beginning.
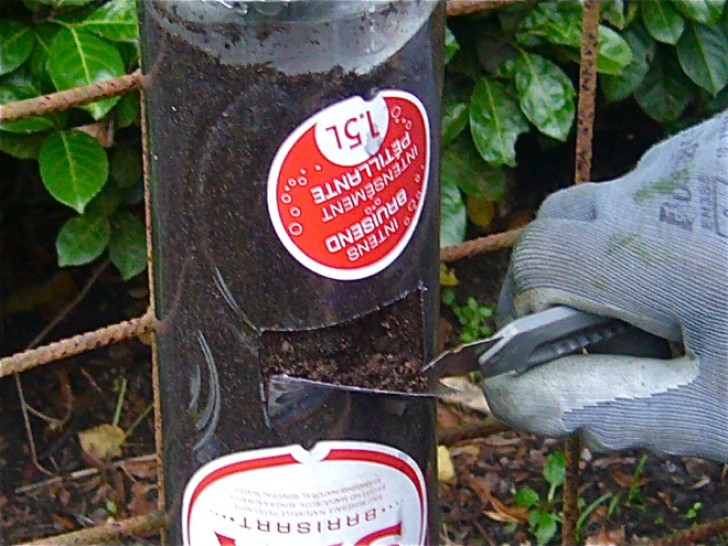
12. Using a cutter, create an opening in the bottles full of soil.
13. Push the soil open with your fingers to create a small cavity and start inserting plants with roots.
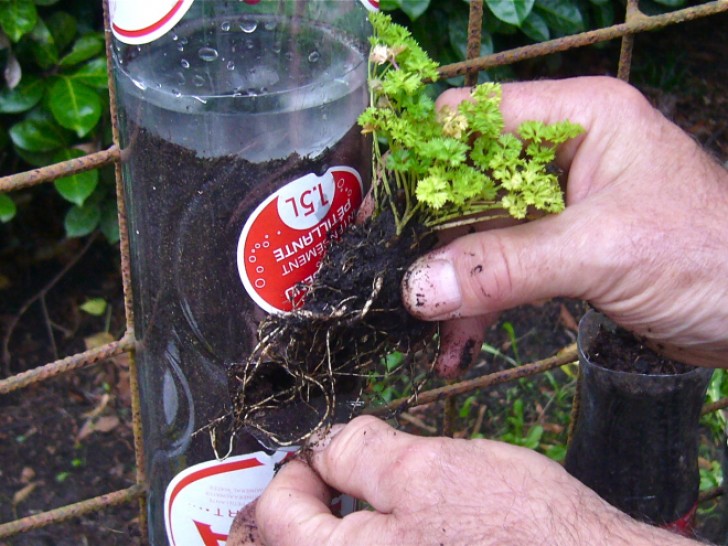
14. The plastic "lid" at the base will keep them firm and allow the roots to make room and grow inside the bottles.
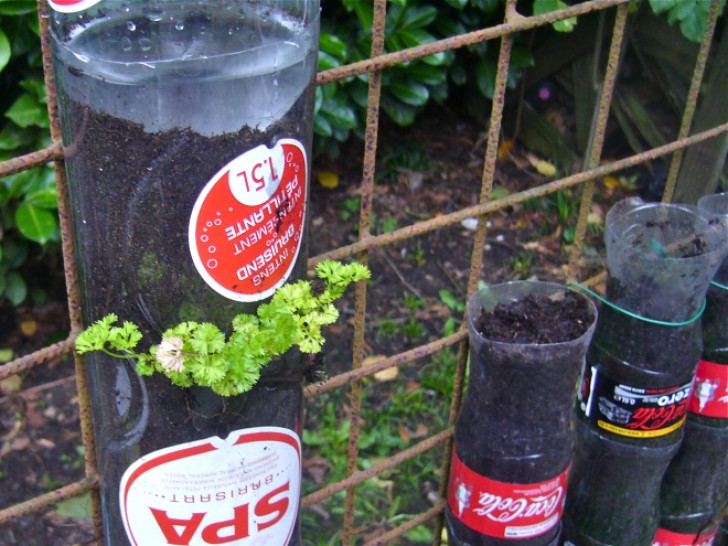
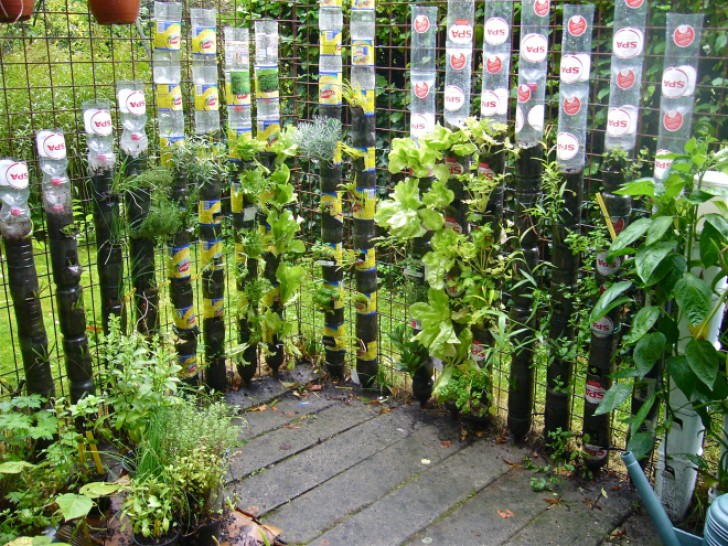
And here's an idea of what you can obtain by resorting to this technique ... Fantastic!
Advertisement