Like to collect bottle caps? Here is the perfect way to showcase them!
One of the areas where the do-it-yourself (DIY) concept finds its highest expression and gives excellent results is undoubtedly in the furniture category.
Despite what you might think in fact, a piece of furniture bought in a store does not necessarily have more value than one made by hand. In fact, most of the time the added value of hard work and creativity can transform an object of questionable taste into an object that we feel we cannot do without.
In this photo gallery, we present Chris's masterpiece, created after Chris had collected bottle caps for five years in order to give a personal and unique touch to his kitchen.
via Imgur/thepassionofthechris
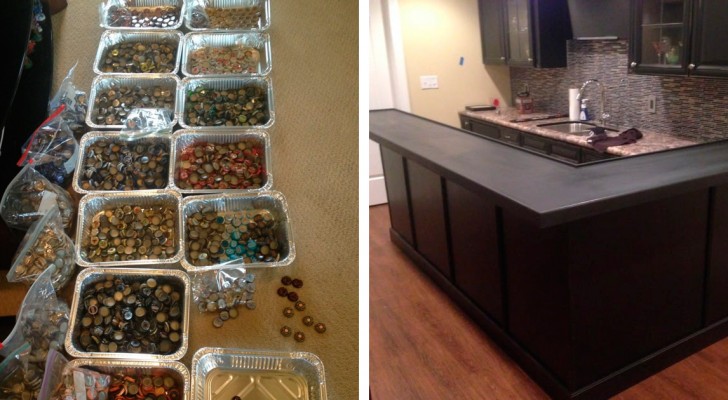
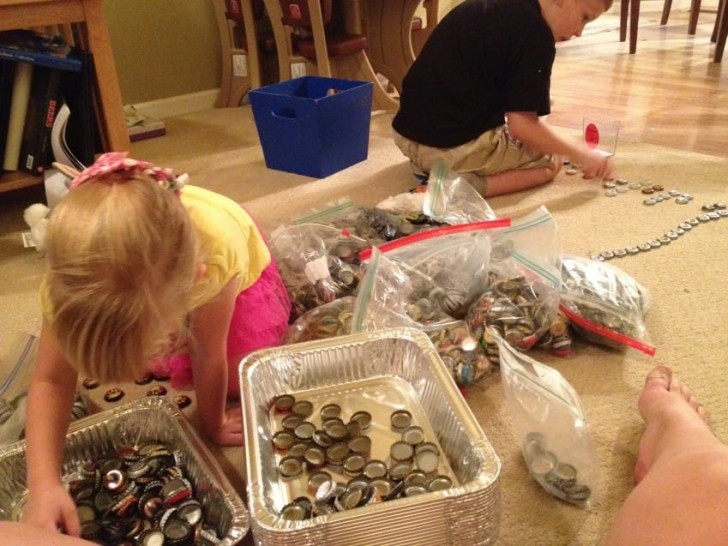
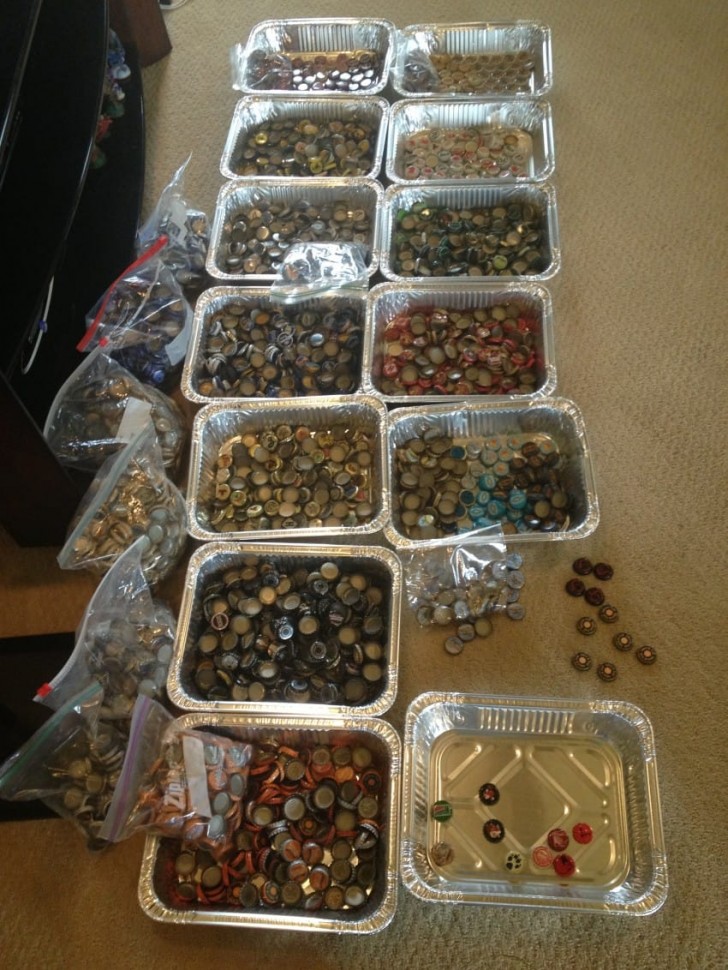
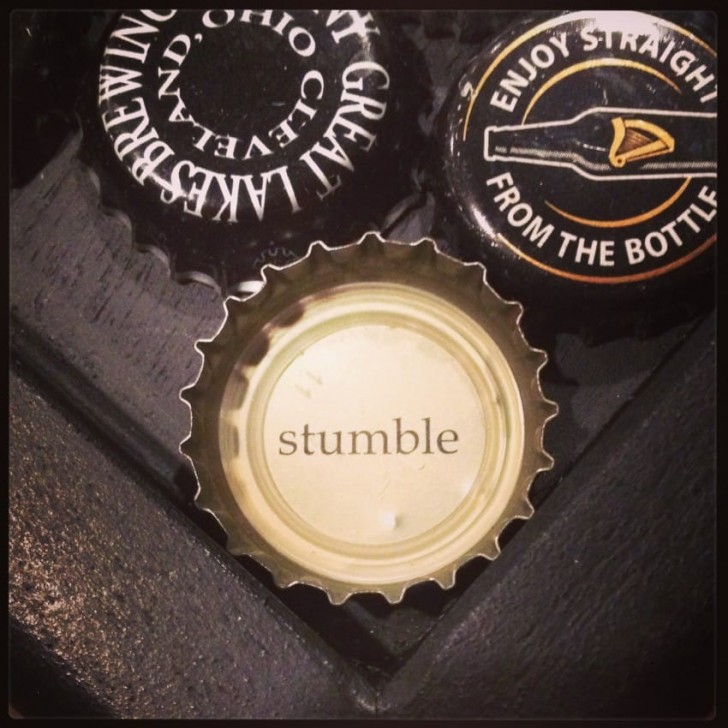
After five years of collecting, this family had accumulated all kinds of bottle caps.
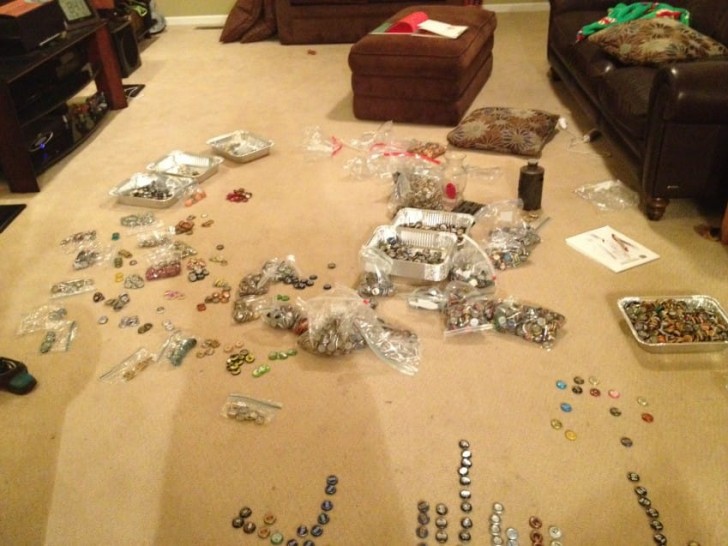
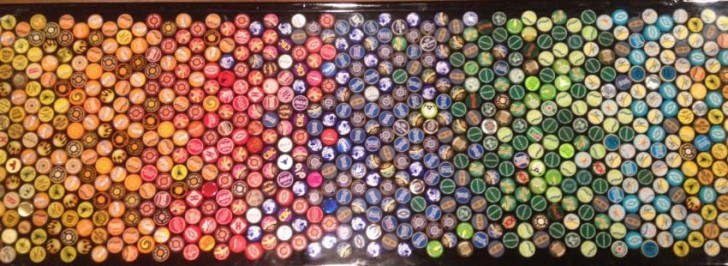
With everyone's help, they sorted the bottle caps according to their different colors and shades.
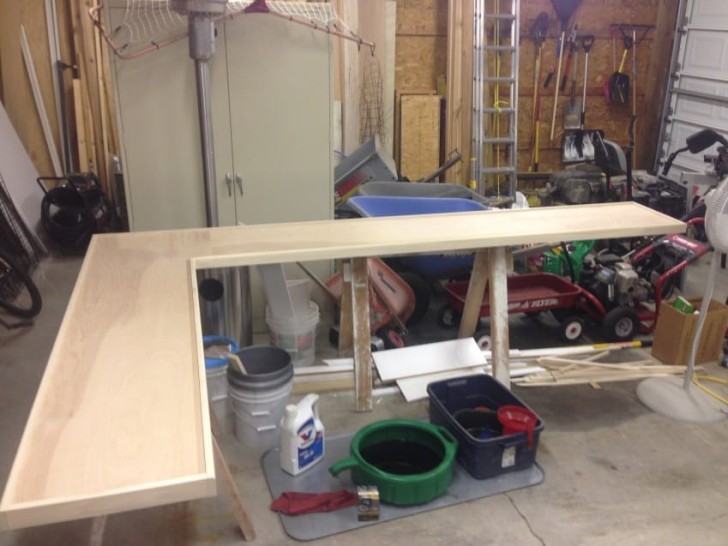
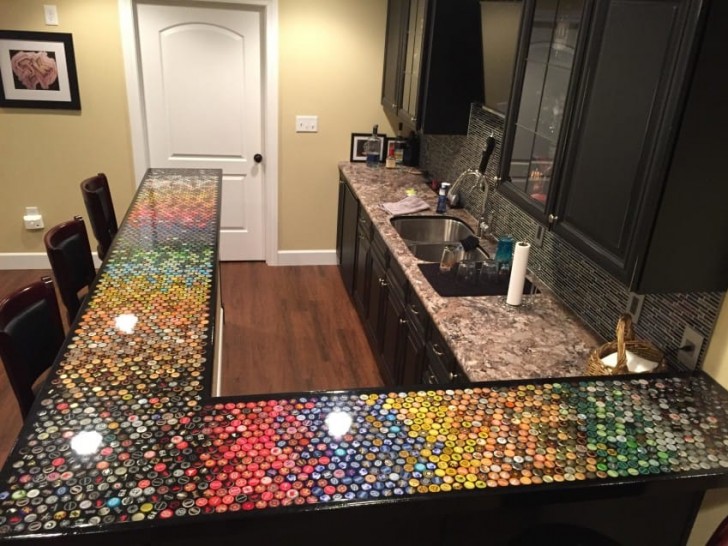
Subsequently, the wooden base for the kitchen tabletop was created.
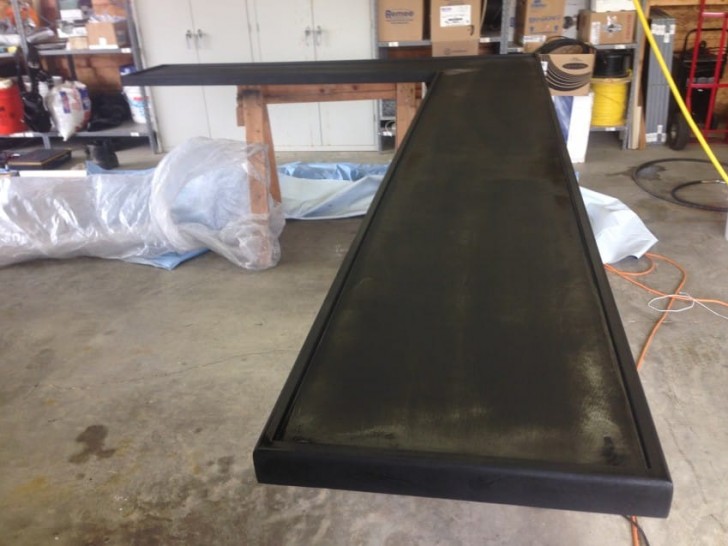
The black color was used to refinish it and to bring out the color of the bottle caps.

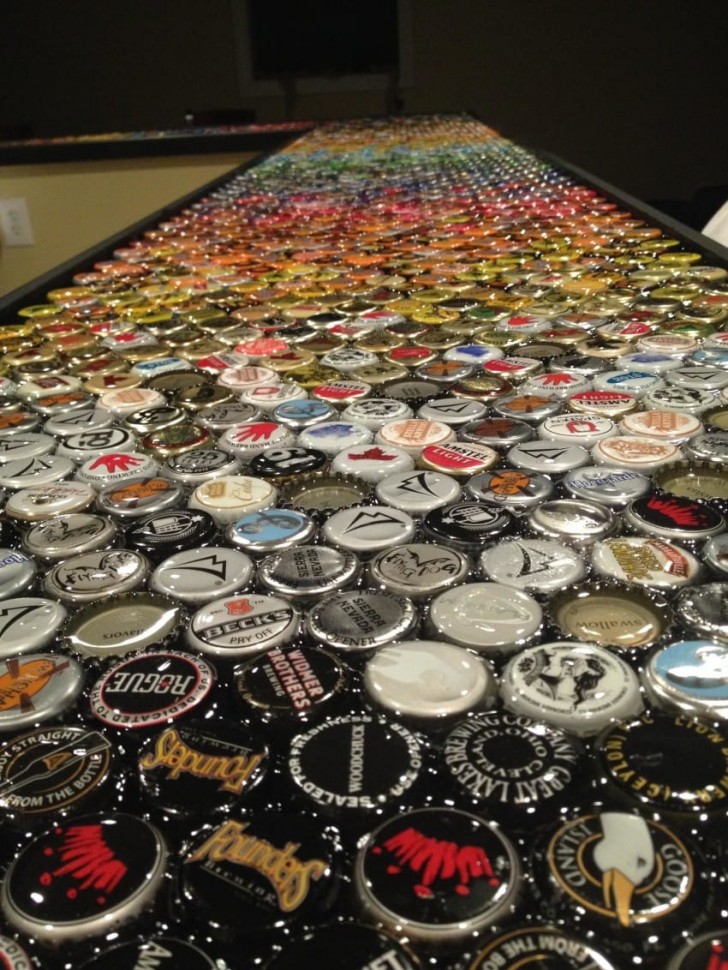
At this point, the entire family took part in creating a large rainbow exploiting the different colors and shades of the metal bottle caps.
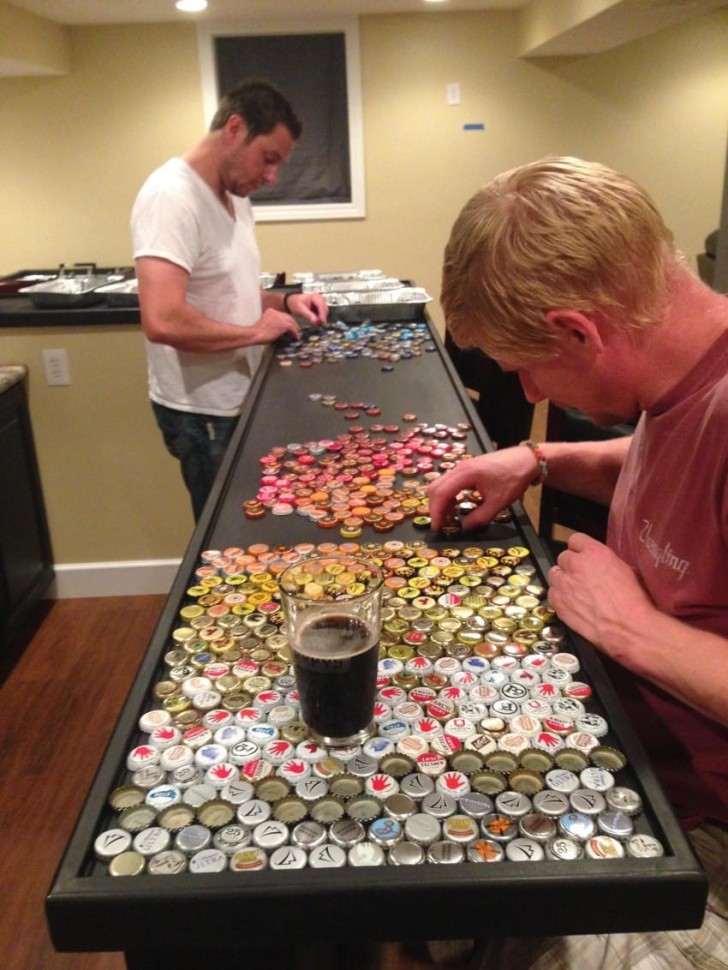
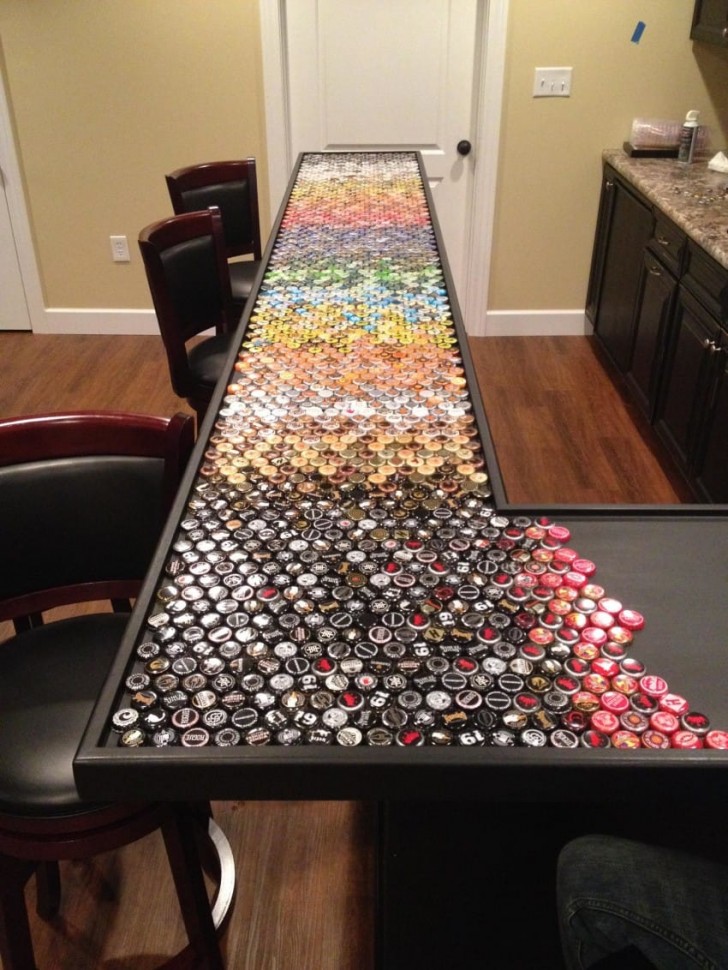
Some of the bottle caps were left upside down to give more variety to the final creation.
After placing the caps and gluing them firmly in place (you will find out why later), Chris prepared the epoxy resin and hardener mix.

Chris started pouring the mix ...
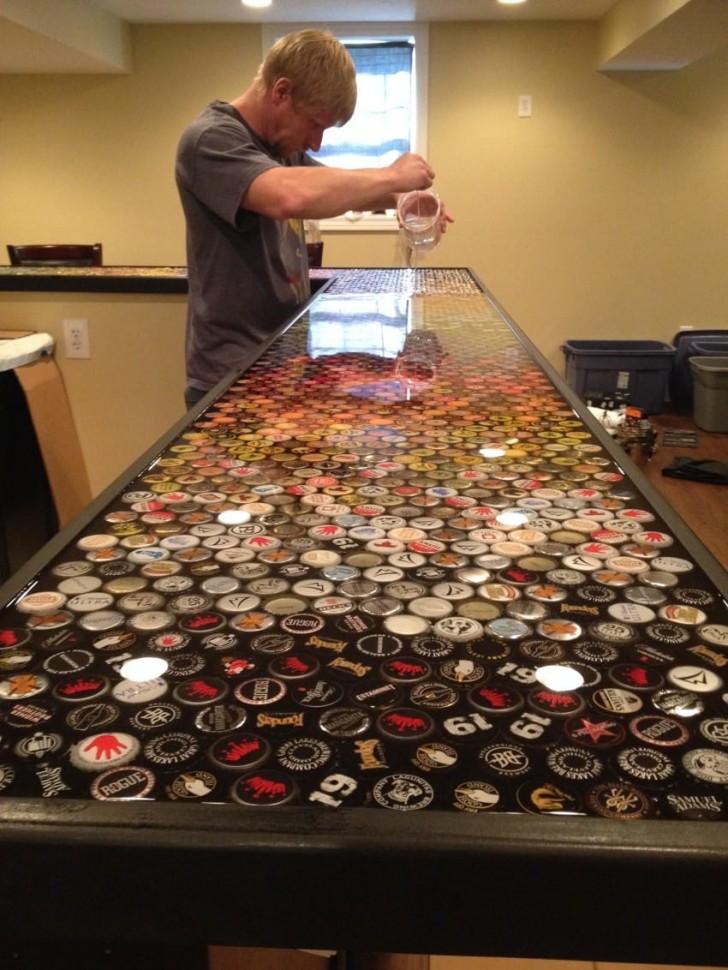
Five layers were needed to completely cover all the bottle caps.
But the result is absolutely fabulous!
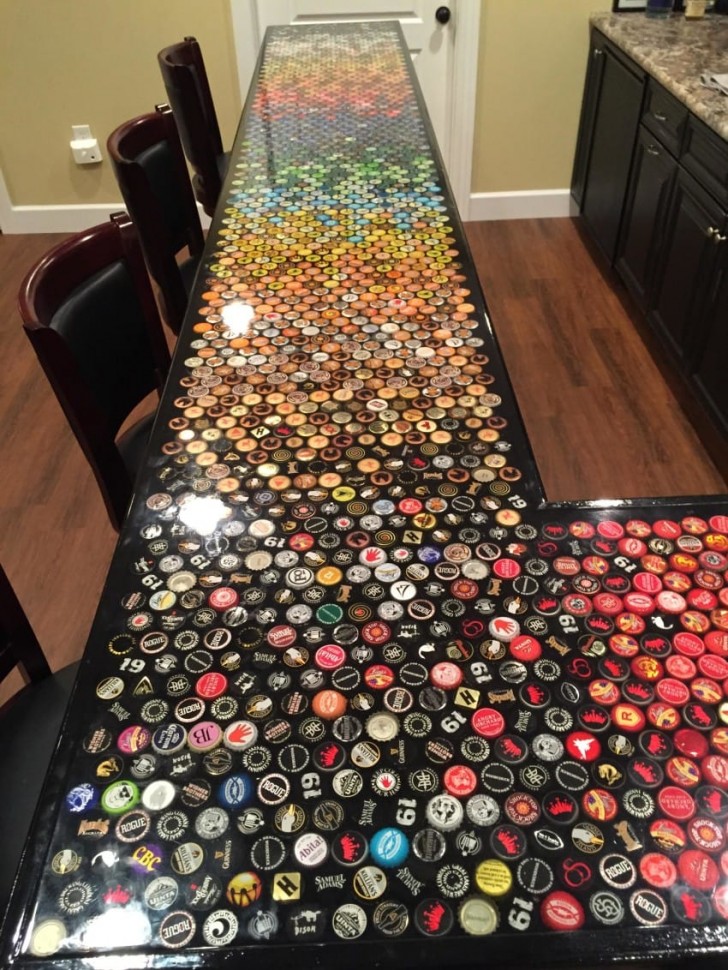
And best of all ... totally UNIQUE.
In the following video, you can follow the same process from an up-close perspective. The crucial advice that it is clear from the video clip is to firmly glue the bottle caps to the base before pouring the resin.
In fact, the air under the bottle caps will cause them to float! Just look at the end of the video clip to discover what the risk is if they have not been firmly glued down!