An Original and Unique DIY Mosaic Baby Room!
Advertisement
Organizing spaces that will be used to welcome a coming baby is perhaps one of the tasks that most enthuses parents.
In the case of this couple expecting twins, we must say that the result is truly fantastic!
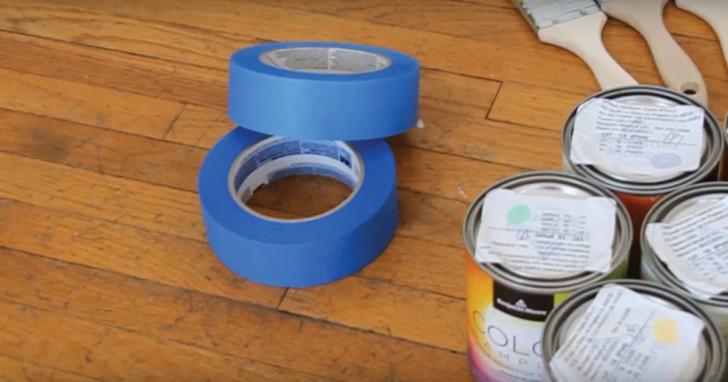
Simply by using painter's tape and 12 different colors, Mom and Dad have managed to successfully create a multicolored geometric pattern that is very well done and also easy to replicate!
1. Utilize painter's tape to create geometric shapes because if you change your mind about a shape, you can always remove it and reattach it where you want without damaging or staining the wall.
Advertisement
2. We recommend you start by delimiting the upper part of the wall by tracing out a work perimeter with painter's tape (a strongly recommended step especially if the wall joins the ceiling in an unusual way).
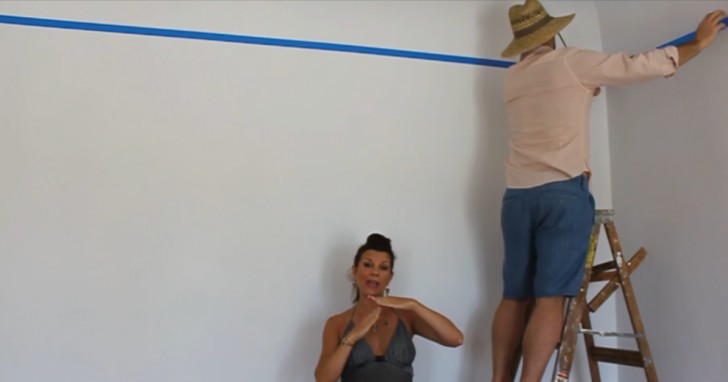
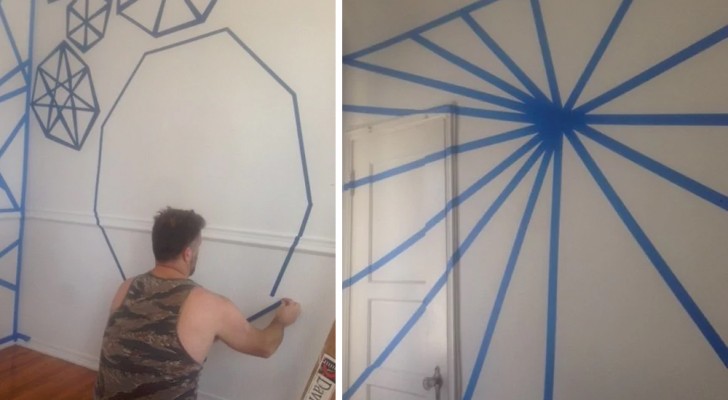
3. Arm yourself with patience (but if you have or are about to have kids then you should already have plenty of it...) and start to apply the tape to the wall, creating shapes according to your desire.
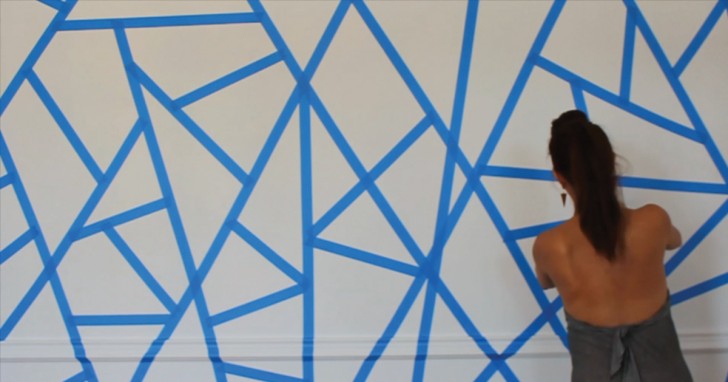
4. After you have created the "rough draft" of the mosaic, next choose how to arrange the colors by applying some paint with a brush, then stepping away to see how you are progressing. This will help you get an idea of the final result and to balance the distribution of colors.

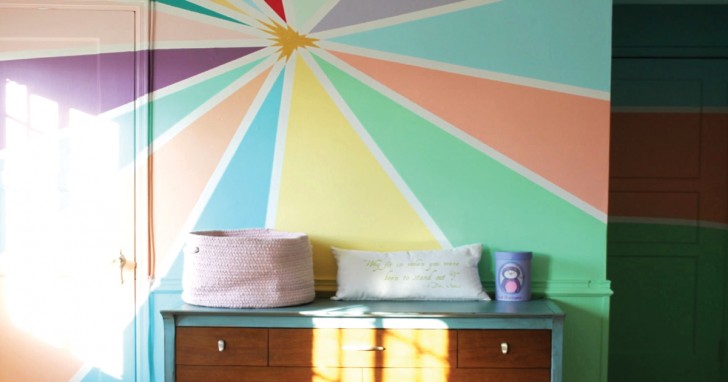
The results are very impressive and thanks to the use of painter's tape you also will be able to easily create well-defined shapes and the effect will be awesome.
Advertisement
One last tip --- if you want to create shapes like the ones you see on the wall on the right in this picture, remember to make the components in various sizes which serves to create a three-dimensional effect!

Advertisement