No Bake Cold Pineapple Cake Recipe!
Making a cake can be a challenge that many people do not feel they want or need to face, preferring to rely on the expert hands of an experienced pastry chef.
However, the ideas for realizing recipes that can be stunning yet simple are not lacking, and then if they do not even require the use of an oven, well that means you are on easy street!
In fact, this delicious cold pineapple cake, which we are going to explain step by step how to make, falls into this category and also perfectly fits most children's tastes.
Ingredients:
2 cans of sliced pineapple in syrup
1 pack type Savoiardi (Savoy) cookies
400 ml sweetened whipping cream
500 grams of pineapple yogurt
2 tablespoons of sweetened condensed milk
8 grams of gelatin sheets
1. Procure a plate large enough to hold a 22 cm (8.6 in) springform cake pan and then drain the syrup juice from one of the cans of pineapple into a bowl.
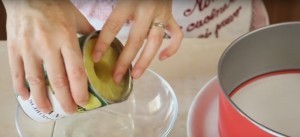
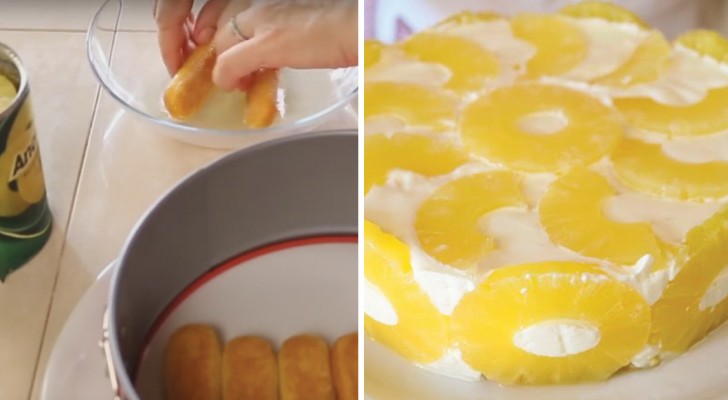
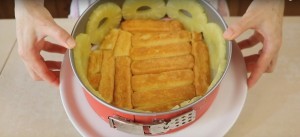
2. Use the sweet pineapple juice to soak the Savoiardi (Savoy) cookies and create the base of your cake.
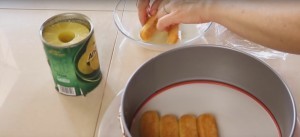
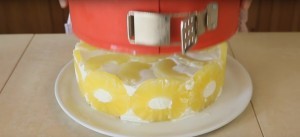
3. Use the pineapple slices to create the outer border edge of the cake as shown in the picture.
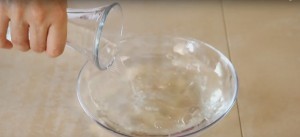
4. Prepare the gelatin by placing the sheets to soak in cold water in a bowl.
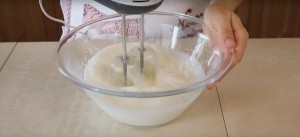
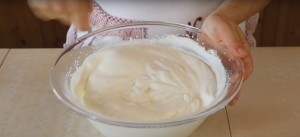
5. Next, move on to making the creamy filling! Use an electric mixer to mount the whipped cream already sweetened.
6. Stir in the condensed milk, pineapple yogurt, and the pineapple chunks that have been created by cutting three rings of pineapple taken from the second can of pineapples.
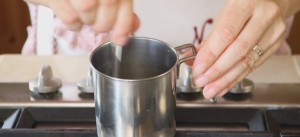
7. Remove the gelatin from the bowl and transfer it to a saucepan where you will dissolve it with a little water, stirring constantly. Add it to the cream.
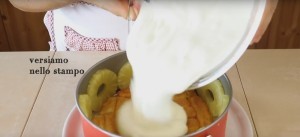
8. Mix everything well and then pour the batter into the cake pan.
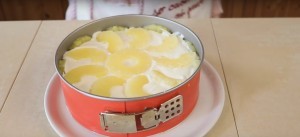
9. Use the remaining pineapple slices to decorate the surface of the cake and then put the cake in the freezer for at least two hours.
10. When the mixture has solidified remove the cake pan having the foresight to detach the slices of pineapple from the pan with the aid of a knife or spatula.
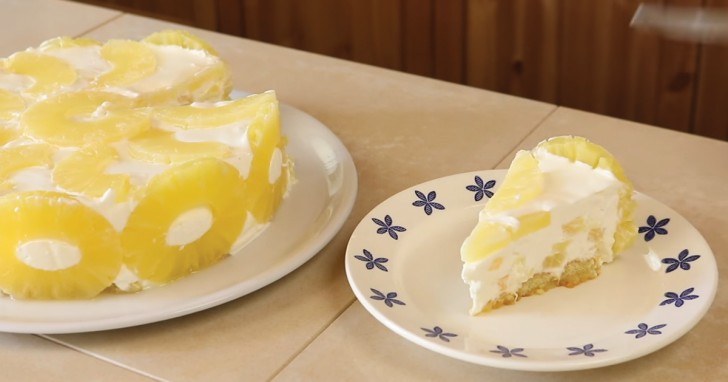
This is the beautiful and very tasty result you will get!
Here is the video showing all the stages of preparation.